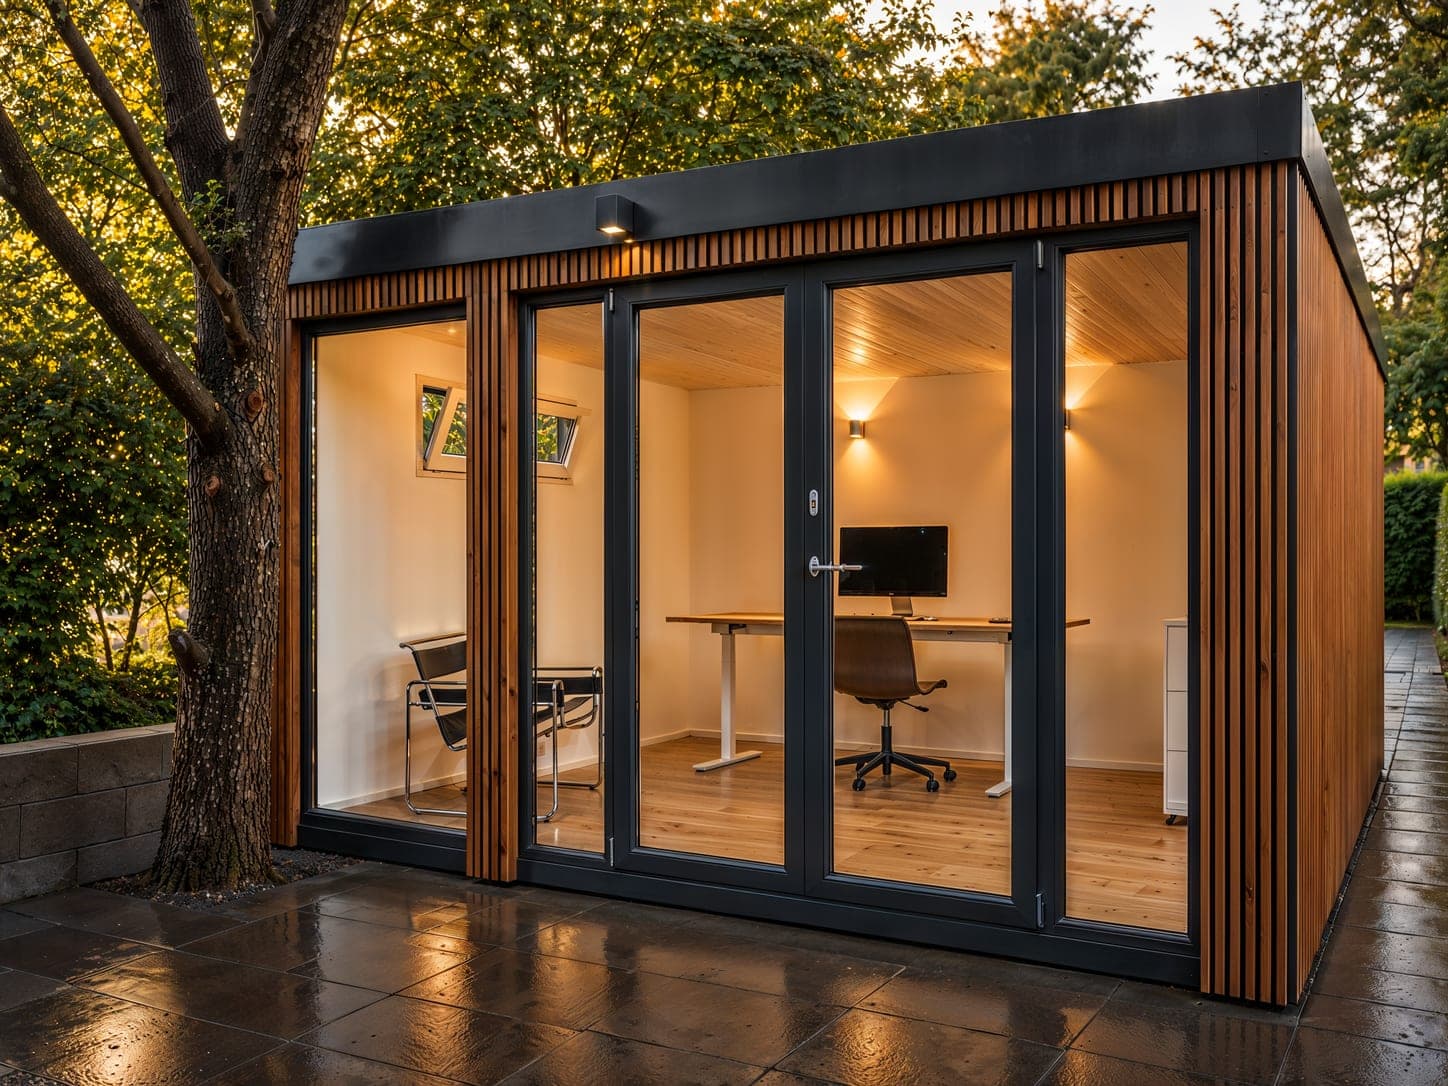
The best thing about a Konvel's foundation: it is the easiest part of the whole project. A garden office made of SIP panels weighs a fraction of a brick extension. That is why it needs no concrete foundation, but something far simpler: a level, load-bearing support at the right points. This guide shows the three options that suit a Konvel and when each one fits.
What the foundation has to do
Three things, no more: carry the weight (around 1.5 tonnes for a Konvel Studio including furniture), keep the floor level and square, and keep the floor panels off the soil so no moisture wicks into the timber from below. Everything else — frost, settlement, drainage — are details of those three points.
The ground must be levelled before the first pad goes down. A few centimetres of fall over five metres is barely noticeable at the foundation, and very noticeable at the glass door later. Check with a laser or a water level across the whole area, not just at the corners.
Option 1: Foundation pads to the pad plan
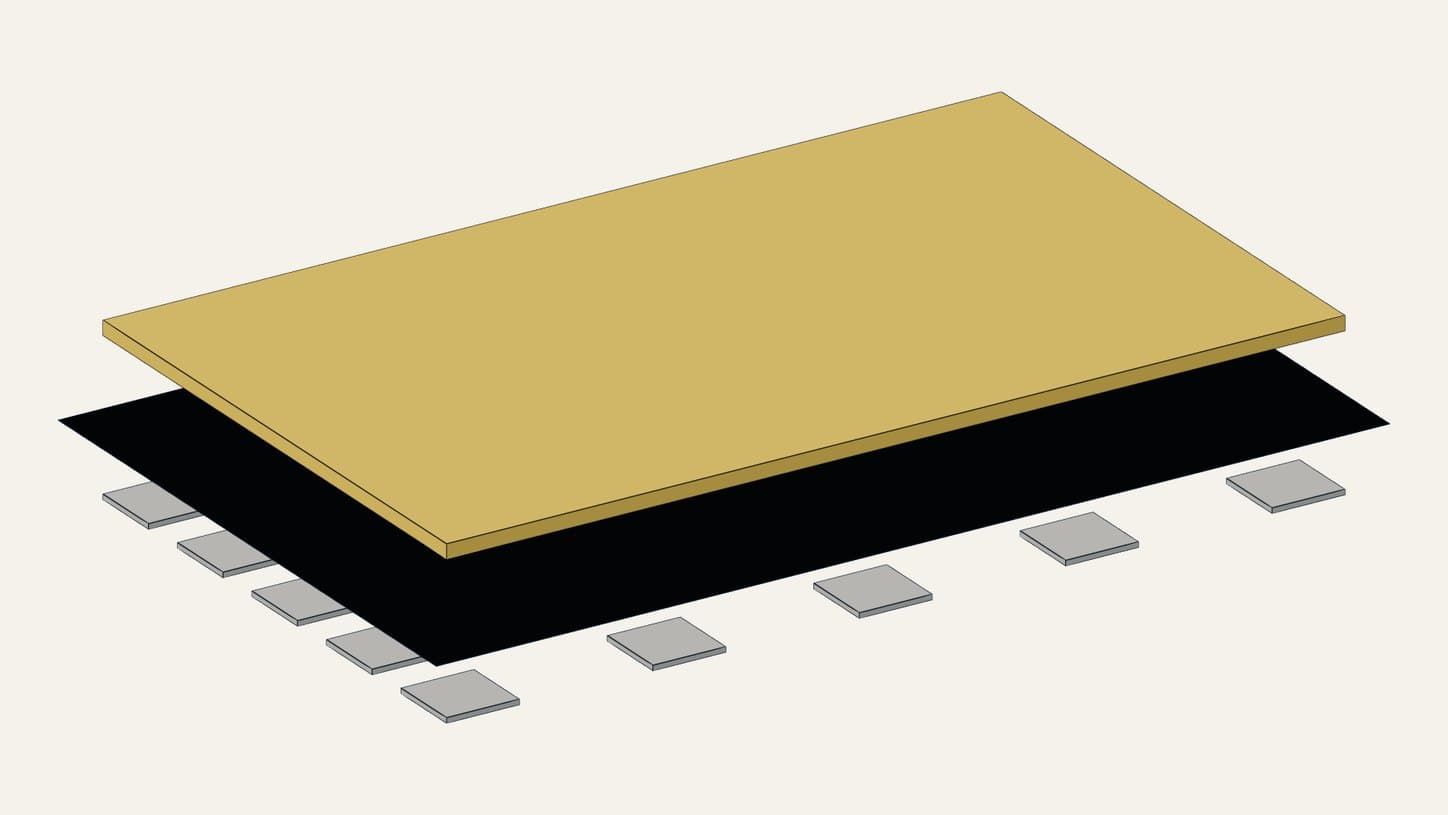
This is the standard route and the one described in our guide. The kit comes with a pad plan: a grid of foundation pads, for a Studio five by five pads of 40 × 40 cm, spaced 1.25 m along and 65 to 85 cm across. The floor panels rest on these pads, sitting slightly above ground level.
How to lay them:
- Set out the footprint and measure the diagonals — equal diagonals mean the rectangle is square.
- Dig a hollow of about 10 cm for each pad, fill with grit or crushed stone and compact it.
- Lay the pads and bring them to one height with a spirit level and string line. Only now check that all pads form one plane.
- Roll out the ground membrane from the kit, then place the floor panels.
Materials: 25 paving slabs plus some grit, €150 to €300, an afternoon for two people. On normal garden soil this is entirely sufficient for a building of this size.
Option 2: Existing patio or paved area
If the garden office stands on an area that is already paved, digging is not needed at all. Two things to watch. First, paving almost always has a fall of 1 to 2.5 percent so rain runs off — over nearly five metres that is 5 to 12 cm. The pads are then not placed directly but set on a thin bed of drainage mortar, with which you bring every pad to the same height. Second, the building must not stand in a dip where water collects.
And check beforehand what lies under the paving: water pipes, conduits or cables should not end under a wall line or a foundation pad, but at a point you can still reach from inside later.
Option 3: Ground screws
Ground screws are driven into the soil with a hand-held machine, carry load immediately and can be unscrewed later without trace. Our ground-screw set from the configurator consists of 30 screws and a 10 × 10 cm timber frame on which the floor panels rest. It costs €1,290 and is installed in a day.
When it is worth it: on uneven or sloping ground, on soils where pads would settle, or when you want to connect the building to the ground as little as possible — on a rented plot, for instance. If you would rather hand the foundation over entirely, a partner company installs screw piles from around €1,500.
Why not concrete?
A reinforced concrete slab costs €2,000 to €4,000, ties you to the spot forever and, under many state building codes, is an argument against permit-free status: a structure that is no longer "removable in principle" is more likely to be treated as a permanent building. For a garden office weighing 1.5 tonnes, concrete brings no advantage that pads or screws would not also provide. We advise against it.
The most common mistakes
- Foundation levelled by eye instead of laser — the door binds.
- Pads laid straight onto topsoil — they settle in the first winter.
- Too little clearance to the ground — the membrane sits in water.
- Rainwater from the roof runs uncontrolled onto the pads; a gutter with downpipe solves that for €179.
Verdict
On level garden soil: pads to the plan, done. On paving: level the pads with a mortar bed. On difficult ground or if you do not want to dig: ground screws. In all three cases the ground stays in a state where you could take the garden office down again one day — and with a self-build kit that is no accident.