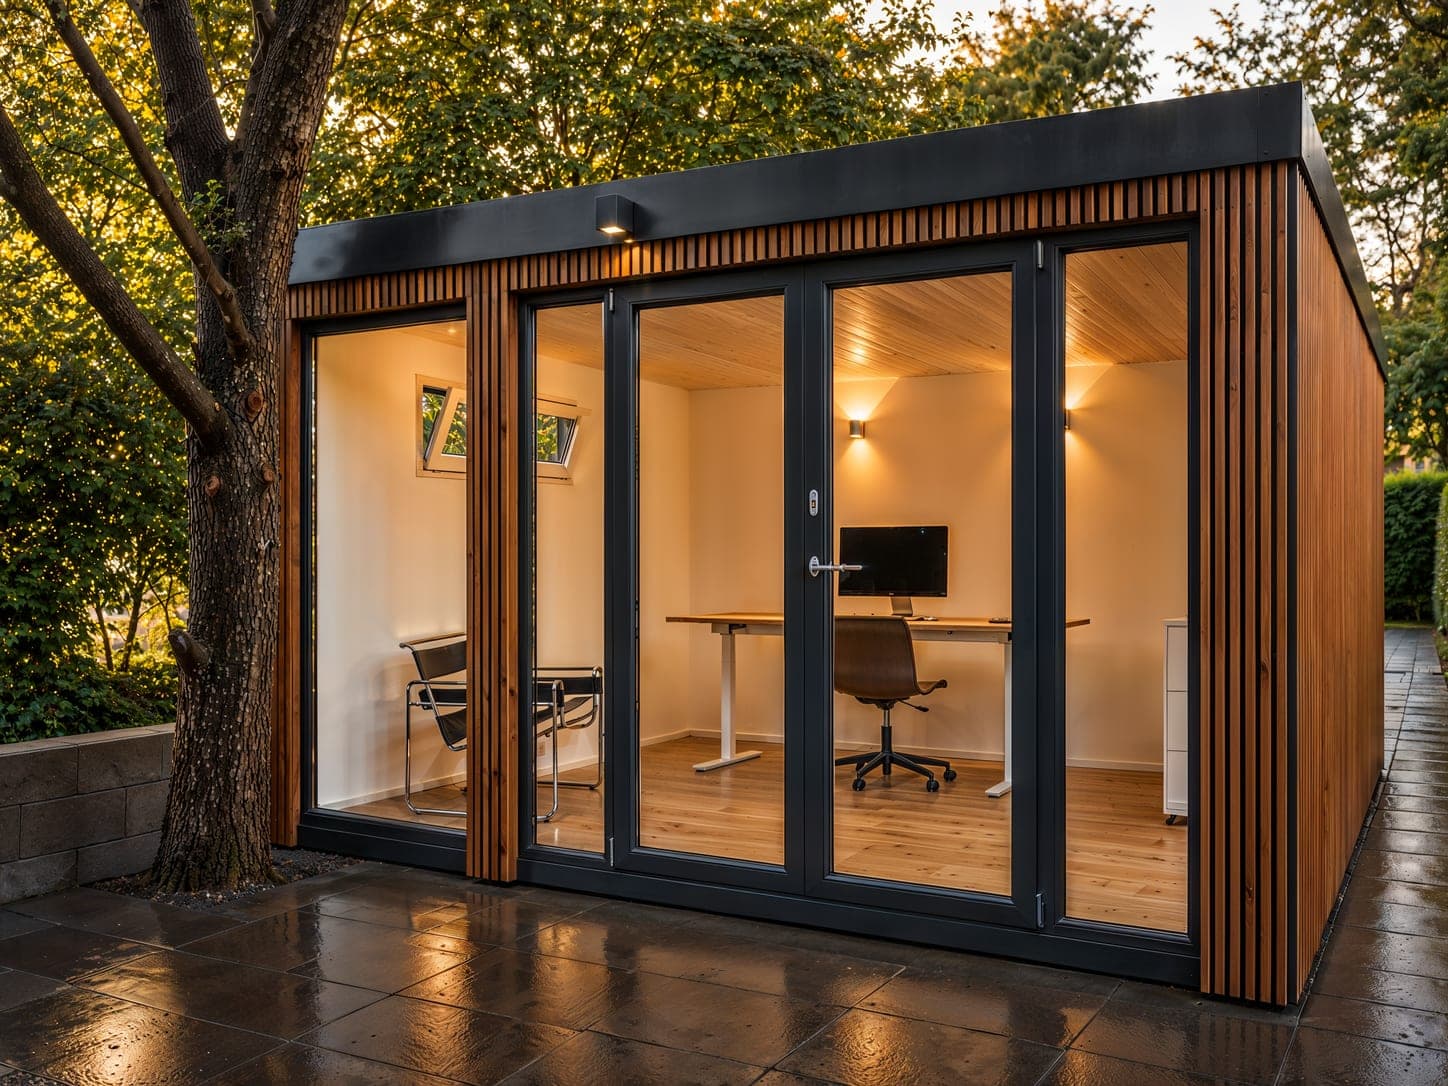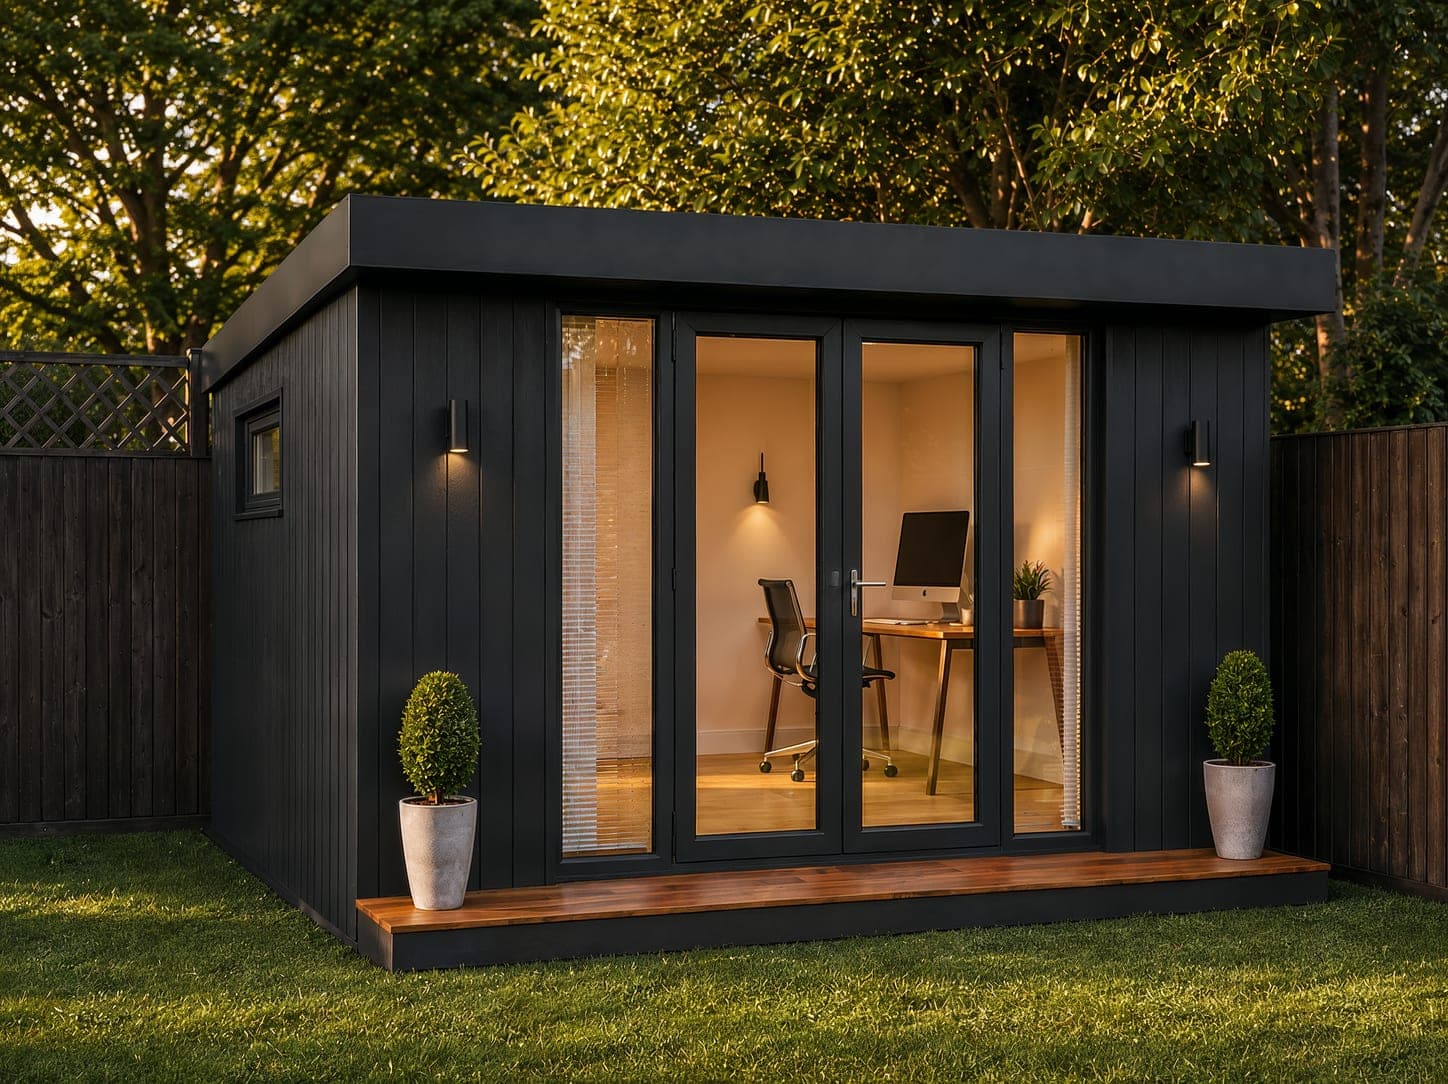
Power and internet turn a beautiful room in the garden into your workplace: light, heating, computer and a video call that does not drop. The connection is the one item no kit includes and almost everyone underestimates — not because of the cost, but because of the sequence. Dig the trench before the foundation pads go down and run a conduit for data at the same time, and you will never have to think about it again.
What the electrician does and what you may do yourself
In Germany only a registered electrical contractor may connect and sign off the fixed installation. That is not a formality: without professional sign-off nobody is liable for you in the event of damage, and the buildings insurer will ask. Excavation, laying conduit, closing the trench — you may do that yourself, and that is exactly where the saving is.
The usual solution is a dedicated circuit from the house's consumer unit: an underground cable (NYY-J 5 × 2.5 mm² is the typical cross-section for these distances) to a small distribution board in the garden office with an RCD, one or two socket circuits and a circuit for lighting and heating. You do not need a second meter, nor a notification to the grid operator — consumption runs through the house meter.
The trench: 60 cm deep, conduit, sand
Underground cables are frost-safe from about 60 cm depth. Lay the cable in a protective conduit (DN 50 cable duct is enough), bed it in sand and lay a warning tape above it — so the next gardener finds the cable before the spade does. The route should be as straight as possible and should not end under a foundation pad or the wall line of the garden office, but at a point where you can reach the distribution board from inside later.
And then the most important sentence of this guide: lay a second conduit next to it. It costs a few euros per metre and is the reason you can pull fibre, another data cable or a line to the rain barrel in five years without opening the lawn again.
Internet: cable beats wireless
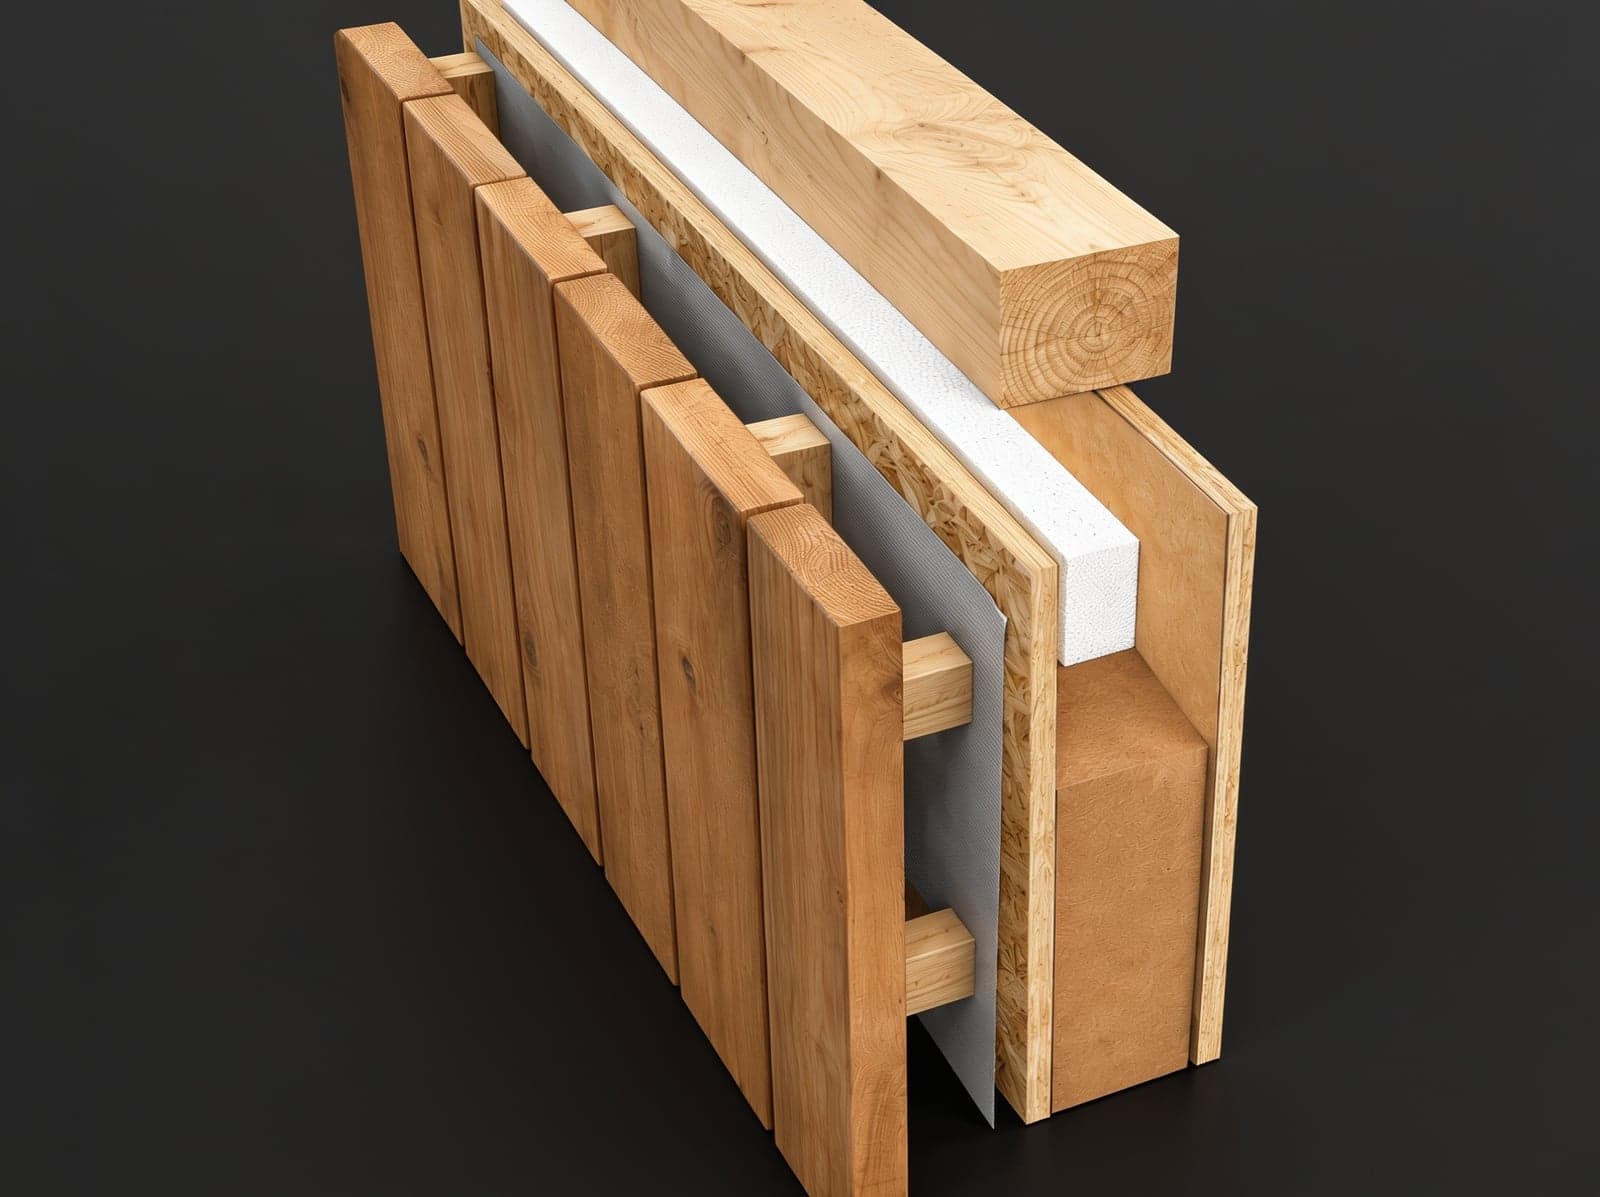
Wi-Fi from the house across 15 metres of garden, through a house wall and an insulated SIP wall, is a gamble — it works on sunny days and collapses during a video call. Three routes, sorted by reliability:
- Network cable in the conduit. A direct-burial Cat 7 cable (€1 to €2 per metre) from the router to the garden office, with a small switch or access point there. Gigabit, no latency, no interference. Up to 90 metres without a repeater.
- Outdoor access point with directional link. Two point-to-point antennas on house and garden office if no trench is possible. Stable, but mounted weather-exposed and around €150 to €300.
- Mesh Wi-Fi with an outdoor node. The simplest retrofit, but bandwidth halves with every wireless hop.
If you are digging anyway, take route 1. The Cat 7 line goes in the same trench as the power cable, in its own conduit and with some distance to the power cable.
What it costs
| Item | typical |
|---|---|
| Underground cable, conduit, sand, warning tape for 15 m | €100 to €200 |
| Distribution board with RCD, 4 sockets, light, heating circuit | €250 to €500 |
| Electrician: connection, installation, sign-off | €400 to €900 |
| Cat 7 direct-burial cable 20 m plus outlet and access point | €80 to €200 |
| Total with your own trench | approx. €850 to €1,800 |
If the electrician also digs, add €300 to €800 depending on the ground. The range is explained almost entirely by the distance to the house and whether paving has to be lifted.
The right order for a self-build
- Fix the location and the cable route; development plan and setback clarified.
- Dig the trench and lay the conduits, tape the ends shut.
- Set the foundation pads, bring the conduit end up next to the future wall line.
- Assemble the kit.
- The electrician pulls the cable, fits the distribution board, sockets and heating, and signs off.
- Interior fit-out.
If you plan the electrics only after the interior is done, cables end up surface-mounted or finished walls get opened. The SIP panels take cable trunking or a service cavity neatly on the inside — both work, but only if the entry from outside is already there.
Planned properly, the whole connection is one afternoon of digging and one electrician's visit. After that you have a workplace with its own circuit and faster, more stable internet than most open-plan offices — twenty steps from the kitchen.